In this post, I’ll go through the construction of the environment for my recently posted Half Life 2 scanner scene.
The point of this project was really just to do a bit of animation on my scanner, and show it off in a simple environment. I can’t remember the last time I did any animation, but my guess would be when I was studying at the AIE over ten years ago 🙂
So with that in mind, figuring I was going to struggle with the animation side, I wanted to keep the environment dead simple. It was always going to be dark, anyway, since I wanted the scanner to light the scene!
Modelling / texturing the tunnel
I looked up a bunch of photo reference for cool tunnels in Europe, presumably the sort of thing that the resistance in city 17 would have used 🙂
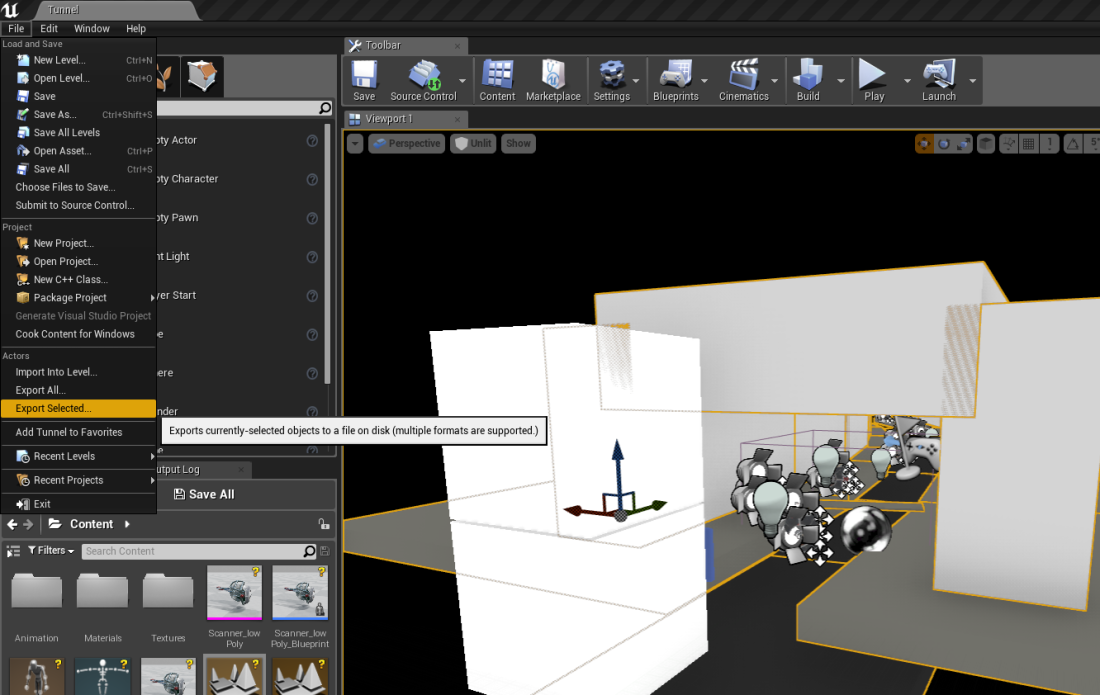
I blocked out basic lighting, camera setup, and created the tunnel out of cubes in UE4.
Once I was happy with the layout, I could then just export the blocked out mesh to FBX to use as a template in Modo:
I also took the time to make a really basic animatic.
I changed the path of the scanner quite a bit, and timing, etc, but I still found this to be useful:
Anyway, at this point, the scene blockout is in Modo, and I can start building geometry:
The geometry itself is dead simple, so I won’t go into that too much, I just extruded along a spline, then beveled and pushed a few edge loops around 🙂
I always use the sculpt tools to push geometry around a little, just to make things feel a bit more natural. Here specifically I was sinking some of the vertices on the side pathways:

Layered vertex painted materials can be expensive, so I wanted to avoid going too far down that path.
In the end, I settled on having two layers: concrete, and moldy damp green stuff:

The green stuff is vertex paint blended on, and the vertex colours for the mask was done in UE4 rather than in Modo, just because it is quick and easy to see what I’m doing in editor.
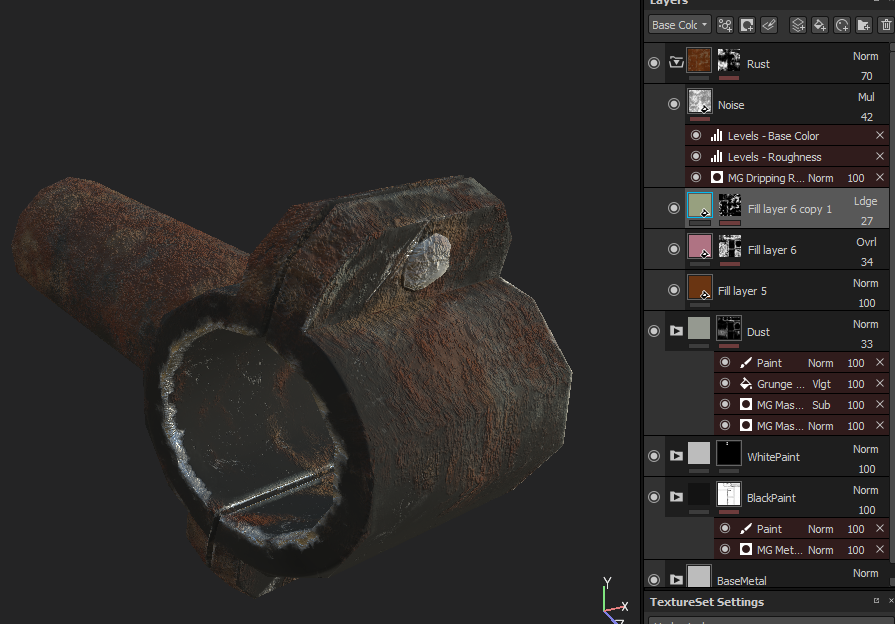
Most of the materials in the scene were made in Substance painter.
And I’m lazy, so they are usually a couple of layers with procedural masks, and one or two hand painted masks 🙂
Water plane
For the purposes of this scene, I could get away with a pretty low tech / low quality water plane. As long as it had some movement, and is reflective, then it would do!
The engine provides flow map samples and functions in the content samples, so I just used those. I’ve written my own ones before (and by that, I mean I copied what they were doing in the Portal 2 Water Flow presentation from siggraph 2010), but the UE4 implementation does exactly what I wanted 🙂
And seriously, if you haven’t looked at that presentation, go do it.
They used Houdini to generate water flow, but I’m lazy and ain’t got time for that! (Not for this scene, at any rate).
I just generated mine in Photoshop, using this page as a guide:
At some point, I’d like to see if I can set up the same workflow in Substance Painter and/or Houdini.
Anyway, the material is a bit messy (sorry):
I’m passing the flowmap texture and some timing parameters into the flowmaps material function, and getting a new normal map out of it.
The only other thing going on here is that I have a mask for the edges of the water, where it is interacting with the walls. I blend in different subsurface colour, normal strength and roughness at the edges.
Fog planes
I’ve got a few overlapping fog planes in the scene, with a simple noisy texture, offset by world position (having a different offset on each make it feel a little more volumetric).
Much like the water, the fog plane has a subtle flow map on it, to fake a bit of turbulence, and the material uses depth fade on opacity to help it blend with the surrounding geometry:
UE4 4.13 mesh decals
I was going to use a bunch of the new 4.13 features originally, but in the end I think the only one I used was “mesh decals”.
These are decals in the old school sense, not the projected decals that UE4 users have probably come to love. In the back of my mind, I had thought I might turn this into a VR scene at some point, and the cost of projected decals is a somewhat unknown commodity for me at the moment.
The main advantage of mesh decals, vs floating bits of geometry with Masked materials, is that mesh decals support full alpha blending.
In these shots, the water puddle, stain and concrete edge damage are all on part of the same decal sheet:
The decals are all using Diffuse, Normals, Roughness, Metallic and Occlusion (the last three packed together):
 I built the decals one at a time, without much planning, basically guessing at how much texture space I thought I was going to need (I didn’t bother setting a “texels per metre” type of limit for my project, but that probably would have been sensible).
Each time I wanted a new mesh decal, I’d work out in Modo how big I want it first:
Then I’d copy it into a separate Modo scene just for Decal Layout which I take into Substance Painter.
I just did this so I could keep all the mesh together in one space, to keep it easy for painting:
And then here is the scene in Substance:
And here is the scene with and without decals:
What’s great about this, is that mesh decals don’t show up in Shader Complexity, so the tech artists on the project will never know… (I kid, I kid. They will find them in PIX, and will hunt you down and yell at you).
I really like this approach to building wear and tear into materials. The first time I saw this approach was when I was working at Visceral Games in Melbourne, and the engine was very well optimized to handle a pretty huge amount of decals. I didn’t embrace it as much as I should have, back then.
Rails
A few years back, I made a blueprint for pipes that allowed joining sections, etc.
So I knocked together a model in Modo for the connection pieces:
Edge-weighted sub-d, of course, because I can’t help myself 🙂
I even started sculpting in some heavy rust, but had to have a stern word to myself about not spending too much time on stuff that isn’t even going to be lit…
Textured in Substance Painter:
Same dealio with the pipe segments:
Then I just built the spline in the editor, and set it up like in my old blog post.
Much like I did with the original blockout geometry, I also exported the final pipes back out to Modo so that I could use them to work out where I wanted to put some decals.
The only other thing that was a pain, was that the pipes need lightmaps, but I couldn’t work out a way to generate unique UVs for the final pipe mesh.
In the end, I just used the merge actors function in the editor, so that they all became a single static mesh, and let Unreal generate lightmap UVs.
Webs
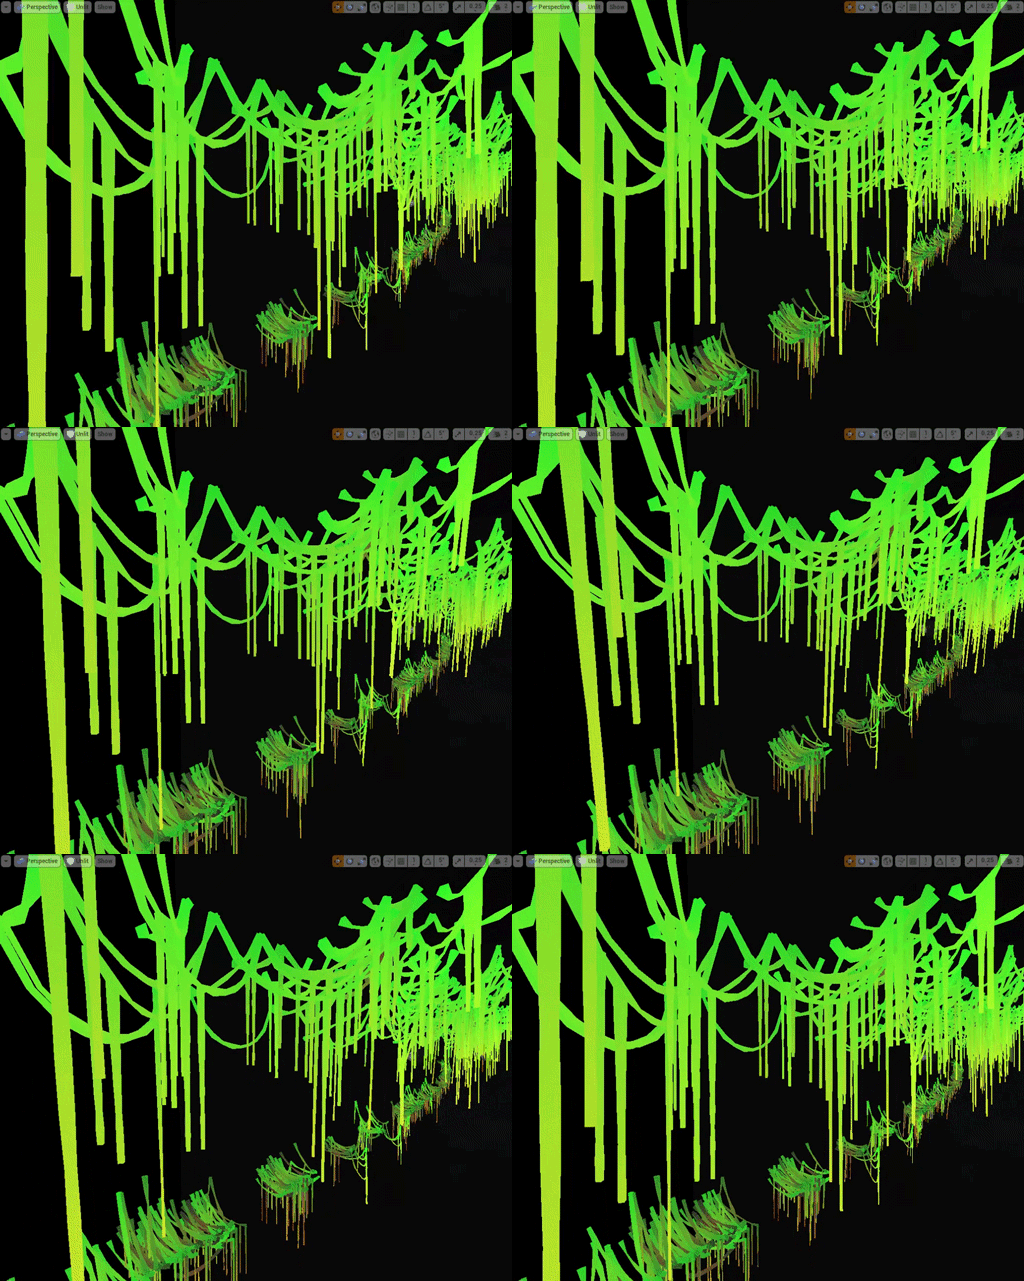
Did you notice that there were hanging spider webs in the scene?
No? Good, because I don’t like them much 😛
I probably spent 10-20 hours just messing about with these silly things, but at least I got some fun gifs out of them:
Next up…
I’ll break down the construction of those web things, might be useful for a scene full of badly animated vines, I suppose…
I’ll also go through all of the silly things I did on the animation / blueprint / lighting side.


Hi Geoff,
I’m a 4th year civil engineering student, I am doing my honors project on Virtualisation of Building Maintenance in Construction. Part of my research requires me to build a revit model and import it into UE4 to simulate the degradation of the material depending on various environmental factors. I would really appreciate it if I can get in contact with you via email, to go over your formmap creation as I want to create degradation of material textures over time as the building age.
Hiya! I’ll send you an email 🙂