Houdini pun there, don’t worry if you don’t get it, because it’s pretty much the worst…
In my last post, I talked about the masking effects in Shangri-La, Far Cry 4.
I mentioned that it would be interesting to try out generating the rough masks in Houdini, instead of painting them in Modo.
So here’s an example of a mask made in Houdini, being used in Unreal 4:

Not horrible.
Since it moves along the model pretty evenly, you can see that the hands are pretty late to dissolve, which is a bit weird.
I could paint those out, but then the more I paint, the less value I’m getting out of Houdini for the process.
This is probably a good enough starting point before World Machine, so I’ll talk about the setup.
Masky mask and the function bunch
I’ve exported the Vortigaunt out of Modo as an Alembic file, and bring it into Houdini.
Everything is pretty much done inside a single geometry node:

The interesting bit here is “point_spread_solver”. This is where all the work happens.
Each frame, the solver carries data from one vertex to another, and I just manually stop and bake out the texture when the values stop spreading.
I made the un-calculated points green to illustrate:

A note on “colour_selected_white”, I should really do this bit procedurally. I’m always starting the effect from holes in the mesh, so I could pick the edge vertices that way, instead of manually selecting them in the viewport.
The solver

Yay. Attribwrangle1. Such naming, wow.
Nodes are fun, right up until they aren’t, so you’ll often see me do large slabs of functionality in VEX. Sorry about that, but life is pain, and all that…
Here’s what the attrib wrangle is doing:
int MinDist = -1;

if (@DistanceFromMask == 0)
{
	int PointVertices[];
	PointVertices = neighbours(0, @ptnum);

	foreach (int NeighborPointNum; PointVertices)
	{
		int success             = 0;
		int NeighborDistance    = pointattrib(
						1,
						"DistanceFromMask",
						NeighborPointNum,
						success);

		if (NeighborDistance > 0)
		{
			if (MinDist == -1)
			{
				MinDist = NeighborDistance;
			}

			MinDist = min(MinDist, NeighborDistance);
		}
	}
}

if (MinDist > 0)
	@DistanceFromMask = (MinDist + 1);
Not a very nuanced way of spreading out the values.
For each point, assuming the point has a zero “distance” value, I check the neighboring points.
If a neighbor has a non-zero integer “distance” value, then I take the lowest of all the neighbors, add one to it, and that becomes my “distance” value.
This causes the numbers to spread out over the surface, with the lowest value at the source points, highest value at the furthest distance.
Integers –> Colours
So, the vertices now all have integer distance values on them.
Back up in the mask image, the solver promotes the Distance value up to a Detail attribute, getting the Max Distance of all the points.
In the wrangle node under that, I just loop through all the points and divide each point’s Distance by the Max Distance, and use that to set the colour, or I set it as green if there’s no distance value:
if (@DistanceFromMask > 0)
{
    @Cd = float(@DistanceFromMask - 1) / float(@DistanceFromMaskMax);
}
else
{
    @Cd = {0,1,0};
}
So that produces the gif I showed earlier with the green on it.
Colours –> Textures
Time to jump into SHOPS. See? This is where my awesome title pun comes in.
As simple as it gets, vertex Colour data straight into the surface output:

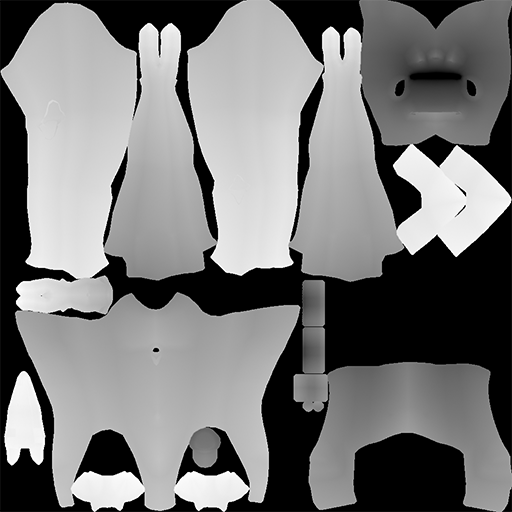
In my “Out”, I’m using a BakeTexture node to bake the material into a texture, and I end up with this:
Conclusion
Bam! Work is done.
Still wouldn’t have been much point in doing this on Shangri-La, because painting masks in Modo is super quick anyway, but it’s fun to jump back into Houdini every now and then and try new things.
Has led to some other interesting thoughts, though.
- For Shangri-La, we could have done that at runtime in a compute shader, and generated the mask-out effect from wherever you actually shot an arrow into an enemy.
That would have been cool. - You could probably use Houdini Engine to put the network into UE4 itself, so you could paint the vertex colours and generate the masks all inside UE4.
- You could do the “erosion” part in Houdini as well, even if you just subdivide the model up and do it using points rather than run it in image space (to avoid seams). Might be hard to get a great resolution out of it.
- You could do an actual pressure simulation, something along the lines what this Ben Millwood guy did here. He’s a buddy of mine, and it’s a cool approach, and it’s better than my hacky min values thing.
